Now that we’ve got the libraries installed we’ll want to create a new project to include and link against SDL. At the end we’ll save this as a template project so in the future we can just load our template and get to work. First we need a new empty C++ project.
Setting the Include Path
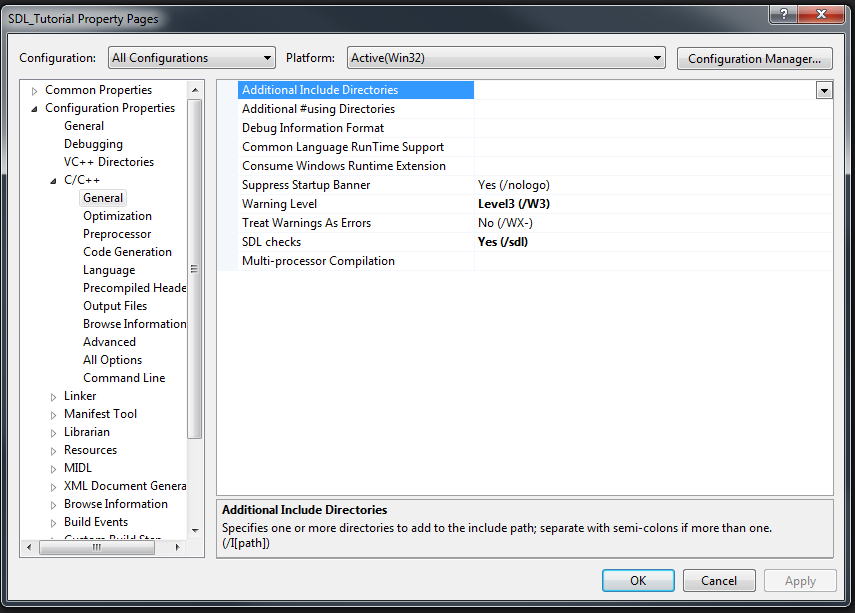
We’ll need to add the SDL include directory so that the compiler can find the SDL headers. Since we also want these configurations to be the same for Debug and Release modes, be sure to select All Configurations on the Configuration menu. To set the path open up the project properties window and open the C/C++ section. In the General page you’ll find an entry titled Additional Include Directories, click this box and open the edit panel through the down arrow at the right side of the box.
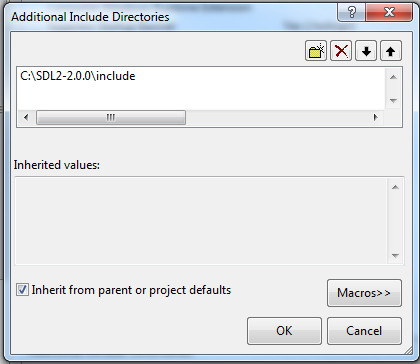
Add a new folder to this window and navigate to your SDL include directory. If you put
your SDL development files under C:\ your include directories panel will look like this
after you’ve selected the include directory correctly.
Setting the Library Path
To add the library paths and the linker dependencies head to the Linker settings section
and open the General page. To add the library path select Additional Library Directories
and add the lib path, selecting either the 32bit (x86) or 64bit (x64) version of the library.
I’ve chosen to use the 32bit version for this tutorial series. After setting the
path your entry should look like this if SDL is under C:\ and you chose the 32bit libraries.

Adding the Library Dependencies
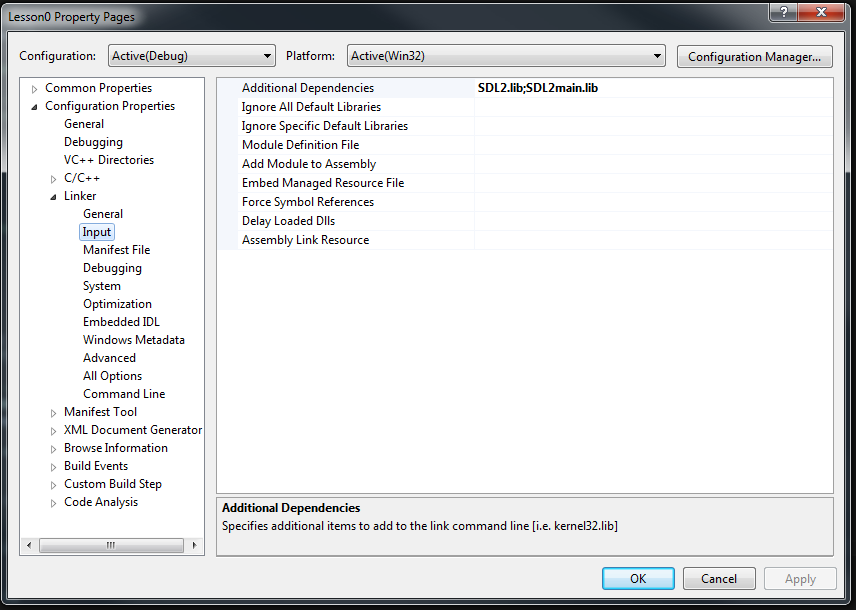
Now we’ll add the libraries themselves as dependencies. Switch to the Input page and open
the Additional Dependencies entry’s edit panel and add SDL2.lib; SDL2main.lib.
Once you’ve done this your Input page should look like so:
Selecting the SubSystem
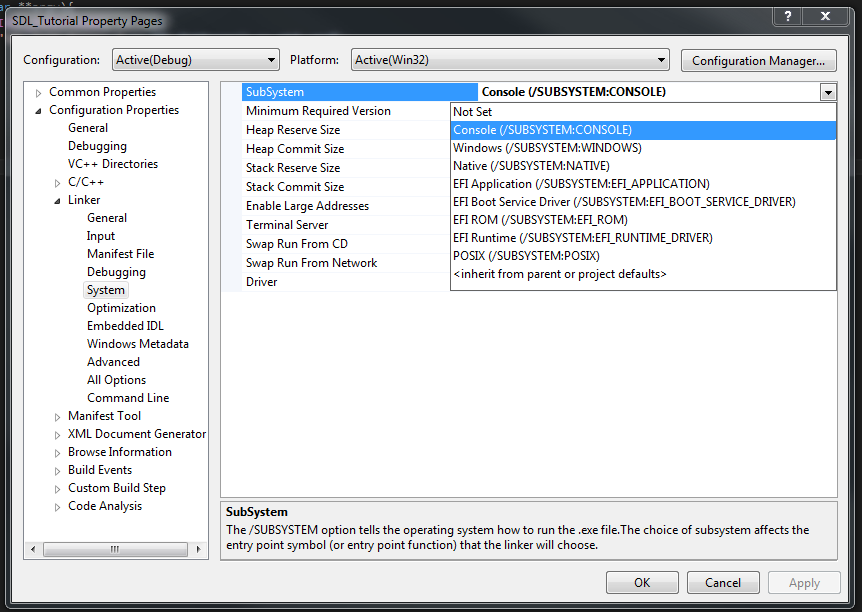
The final step is to select the SubSystem target. To do this open up the System page and choose either Console or Windows from the drop down. If you choose Windows you won’t get a console window that opens up with stdout, if you choose Console you will. Since I’ll be writing debug messages and error information to stdout for quicker/lazier feedback in these tutorials I’ve selected Console. If you have some other file logging you want to use and don’t want a console to open up you should pick Windows. When distributing your applications be sure to select Windows so your users don’t have a console window pop up on them!
The Test Program
The program we’re building for this lesson is a simple sanity check for SDL. It will
initialize the SDL video subsystem, check for any
errors and then quit.
Before we can run this program we’ll need to copy the
SDL binary into our executable’s directory. SDL2.dll can be found in the lib directory
of your SDL folder under lib/(x86/x64), use the one for the architecture you linked against.
#include <iostream>
#include <SDL.h>

int main(int, char**){
	if (SDL_Init(SDL_INIT_VIDEO) != 0){
		std::cout << "SDL_Init Error: " << SDL_GetError() << std::endl;
		return 1;
	}
	SDL_Quit();
	return 0;
}
The program should run successfully but nothing should appear to happen if you’ve configured everything properly. If an error occurs make sure you’ve followed all the steps properly.
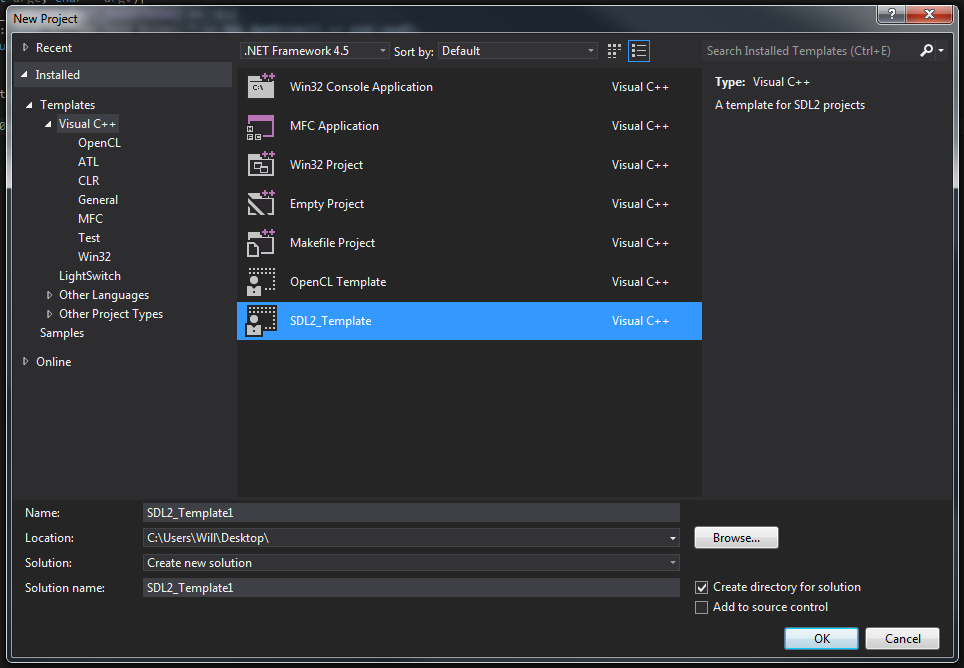
Exporting a Template Project
To avoid having to go through this setup every time we want to make an SDL project we can save this one as a template and then simply select it from the new project menu. To do this select Export Template from the File menu and configure the template as desired. Once you’ve done this the project template will be available under the Visual C++ project selection page.
End of Lesson 0
If you’re having any trouble setting up SDL please send an email or tweet.
I’ll see you again soon in Postscript 0: Properly Finding Resource Paths!